“RSS News” Documentation by “WPsup” v1.0
“RSS News”
Created: 14/6/2015
By: George Mirza
Email: admin@wpsup.com
Thank you for purchasing my theme. If you have any questions that are beyond the scope of this help file, please feel free to email via my user page contact form here. Thanks so much!
Table of Contents
A) Install - top
To Install RSS News you should first of all upload script files to your host.
Then you have to create a new Database with user that has all permissions.
After you Upload the files and create the database then you can run the Install file.
Upload Script Files :
After Purchase the script and download the purchased zipped file. You should unzip the file :
The unzipped file will result two folders :
- documentation.
- script.
Create Database
To Create Database login to your cpanel.
Search for Mysql Database.
By clicking on Mysql Database Link you will go to the Database Managment.
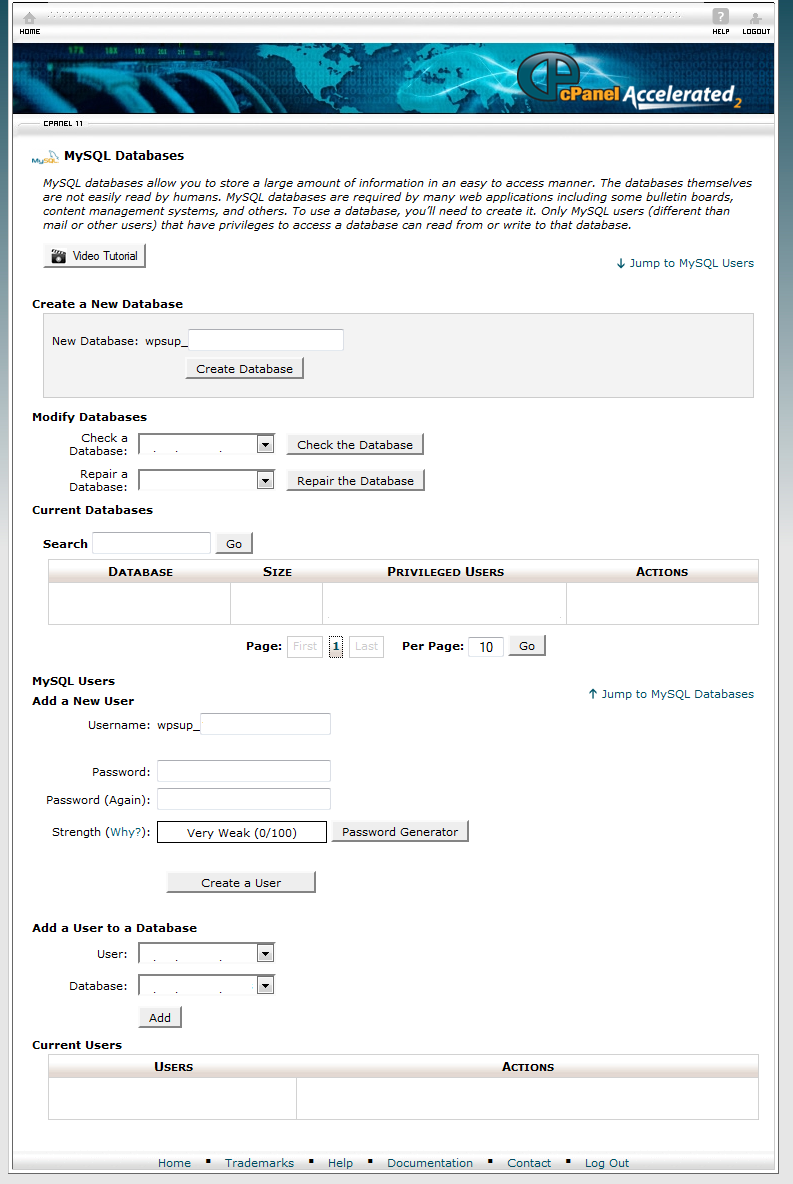
First : Create a New Database

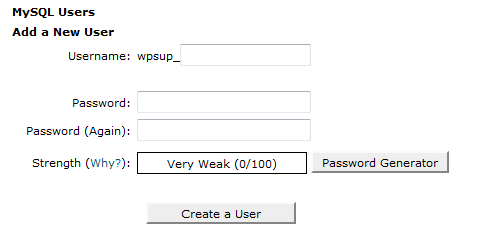
Second : Add a New User
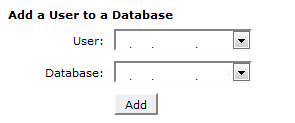
Third : Add a User to Database
Edit config.php Variables
Open config.php file which is located at : include folder.
		$db_config = array(
			'host' => 'localhost', // the database host
			'user' => 'db_username', // the database user
			'pass' => 'db_password', // the database password
			'name' => 'db_name' // the database name
		);
Change the values inserting your values.
for example :
'user' => 'db_username'The value is
db_username and this is what to change. the phrase after =>
Run Install File
To Install the Script Database and Primary Setting go to :
http://www.yoursite.com/install.php
And follow the instructions there.
B) Usage - top
Dashboard
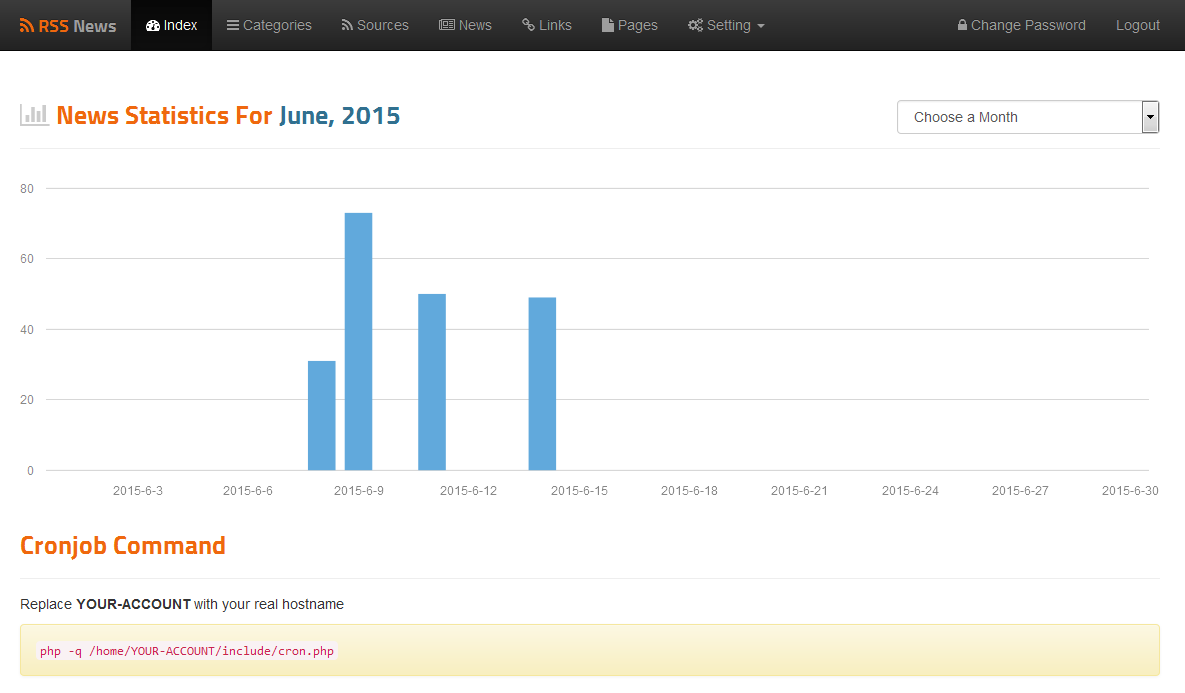
Index Page display news simple statistics per month. and you can choose the year and the month to display their statistics.
Also the Index Page display the cronjon command that it can be used in cpanel to make the script import news automatically.
Categories
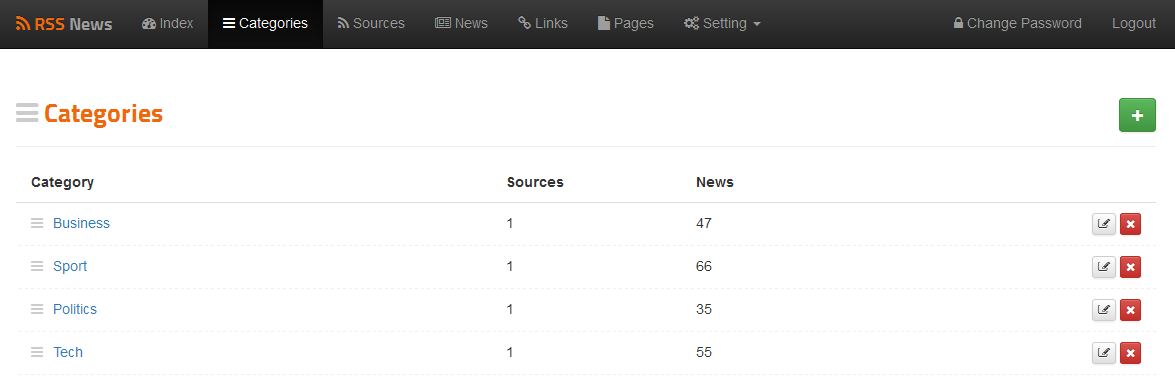
Categories Page display categories inserted by admin and you can add, edit and delete each category.
Also you can drag and drop categories to reorder them.
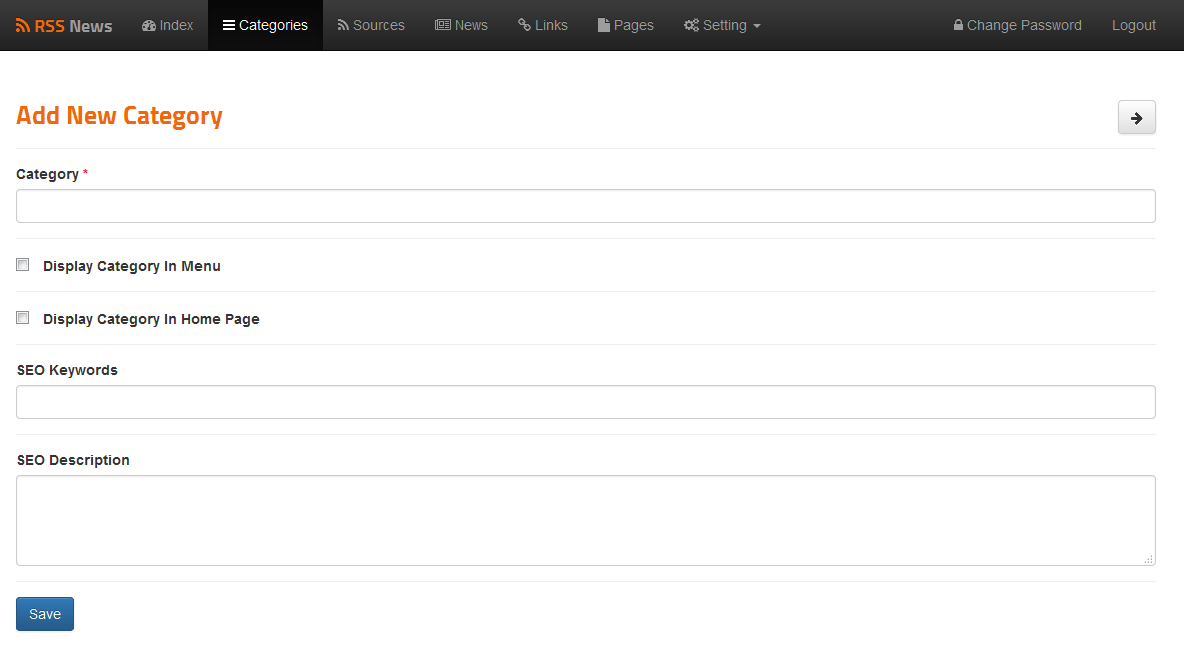
To Add a category you must insert the category name.
If you checked the option (Display Category in Menu) The category will appear in the main menu located at the top of front-end.
If you checked the option (Display Category in Home Page) The category will appear as a news section in the homepage located at the front-end.
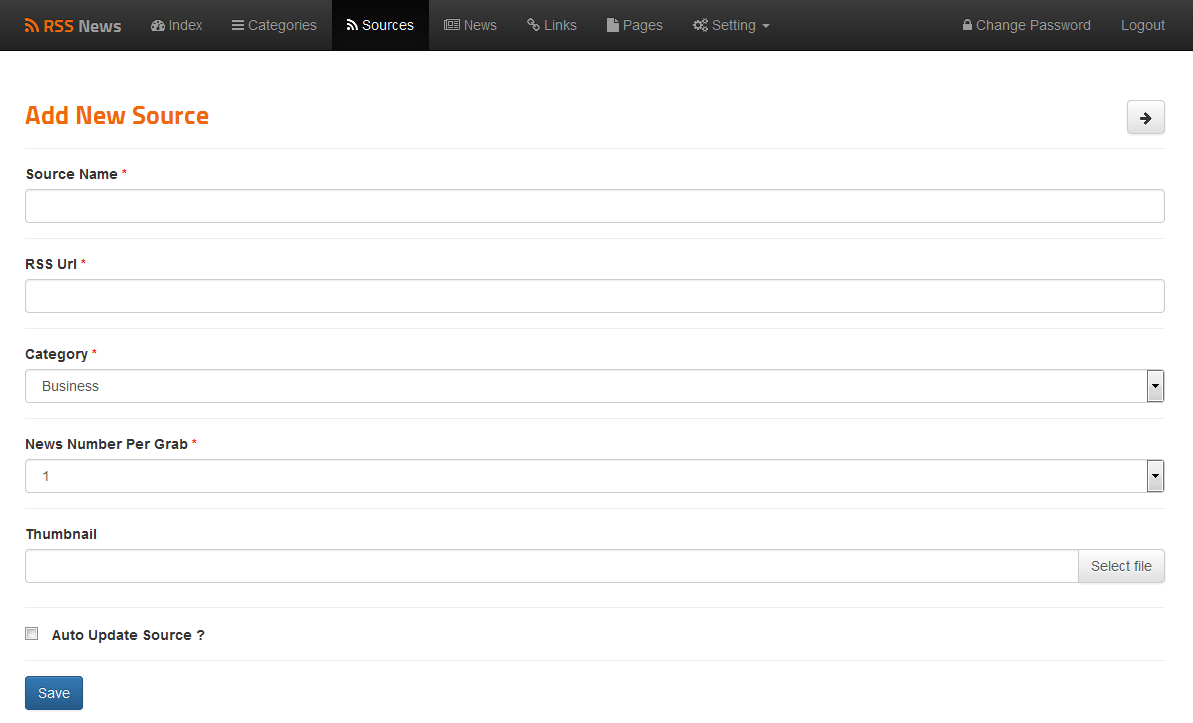
Sources
Sources Page display the feed sources that the script import the news from. you can add, edit and delete sources.
In addition you can also Import news manually from each source.
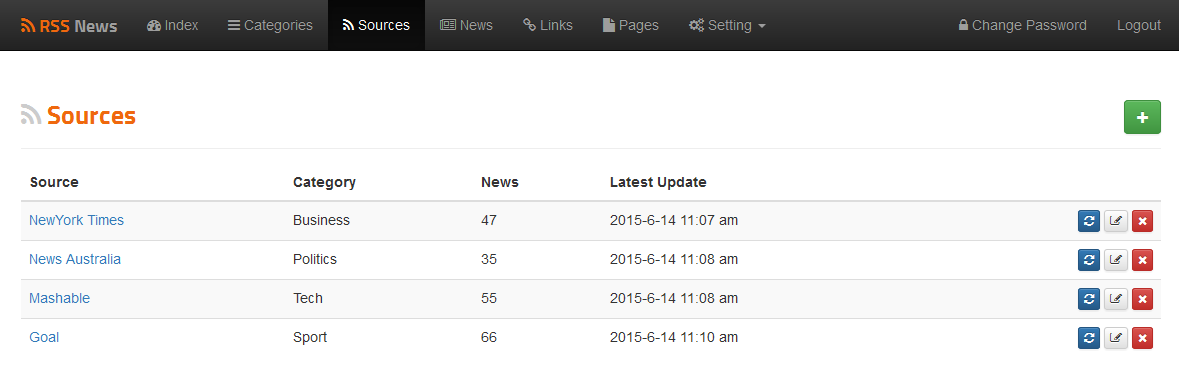
To Add a source you must insert the source title and the RSS Url, and choose a category that the source belong.
You can also select the number of news Imported per each Grab.
If you upload a thumbnail for the source this thumbnail will be the default thumbnail for the news that have no thumbnail. if not the news with no thumbnail will be assigned to noimage.jpg located at the upload folder.
If you checked the option (Auto Update Source ?) means that this source will be included in the cronjob Importing atomatically. If not, then you should Import the news for this source manually.
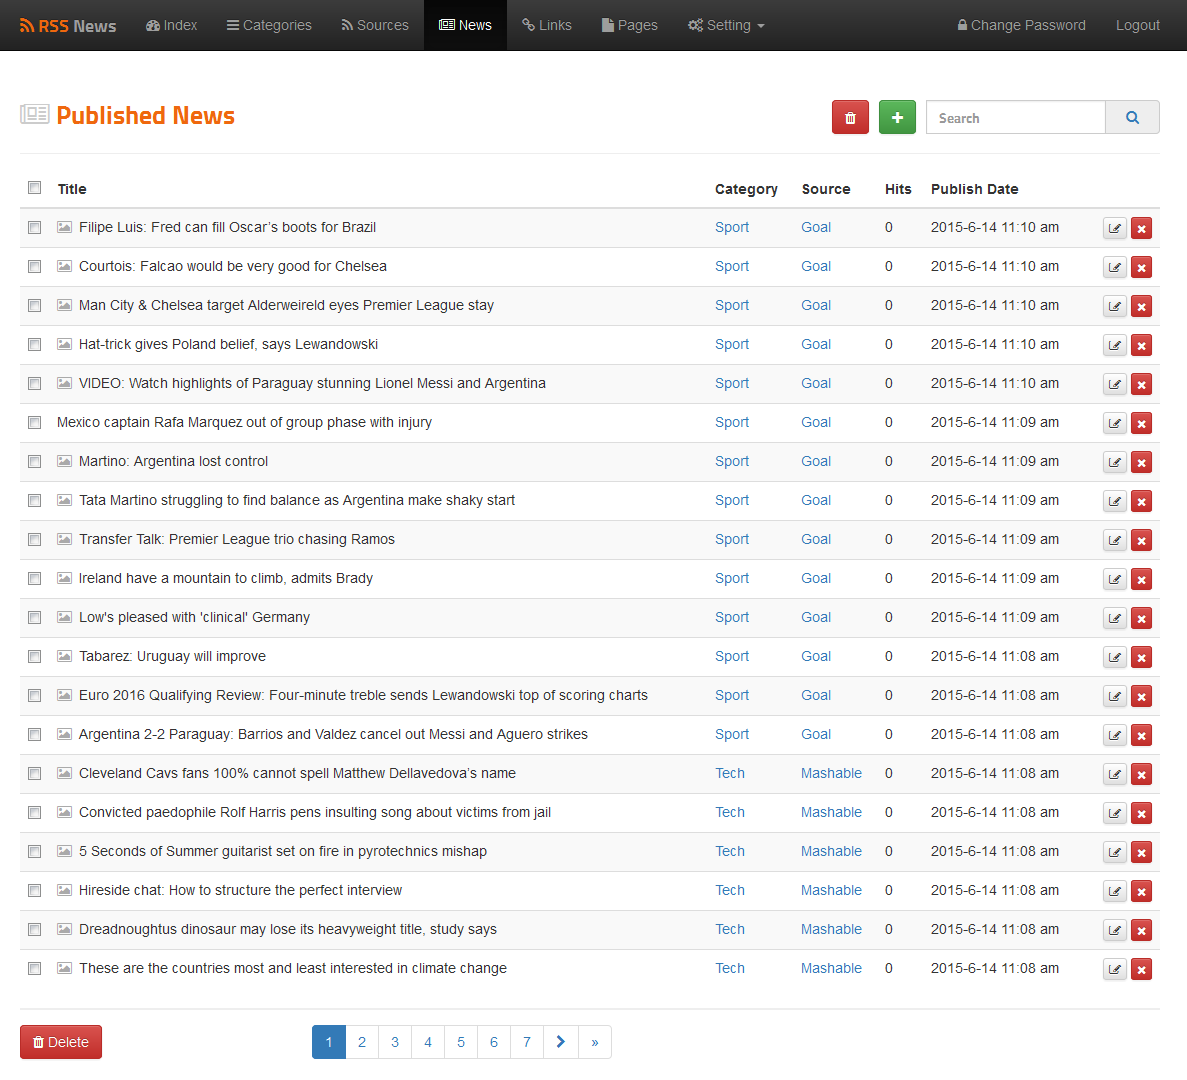
News
News Page Display published news in addition to deleted news and you can search for an article(s).
Also you can delete multi-news and restore them later In addition to option of deleting them permanently.
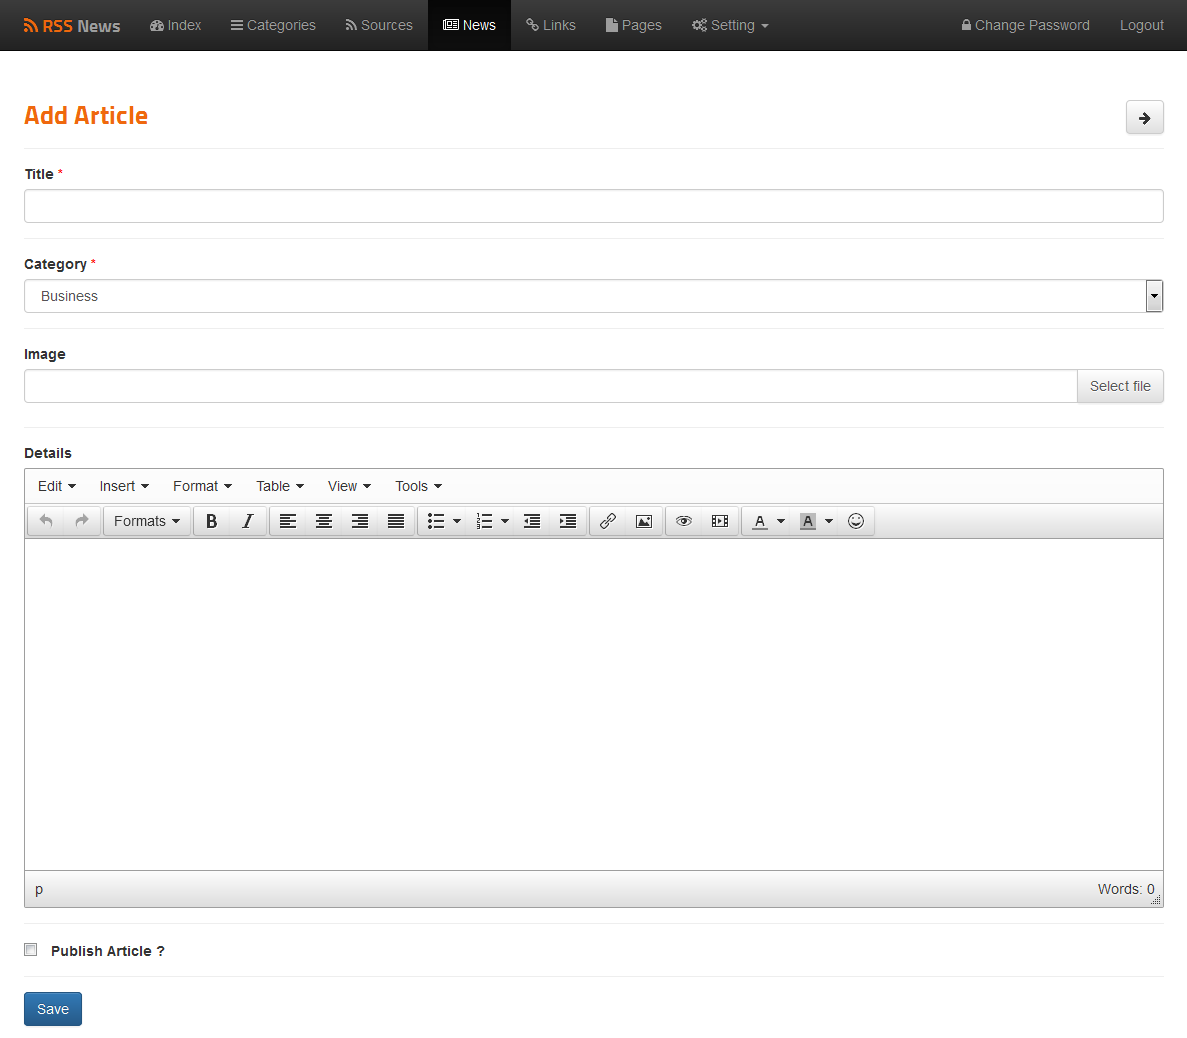
To Add a Private Article (Not Imported) You Must Insert the title and choose a category.
Also you can upload image to the article.
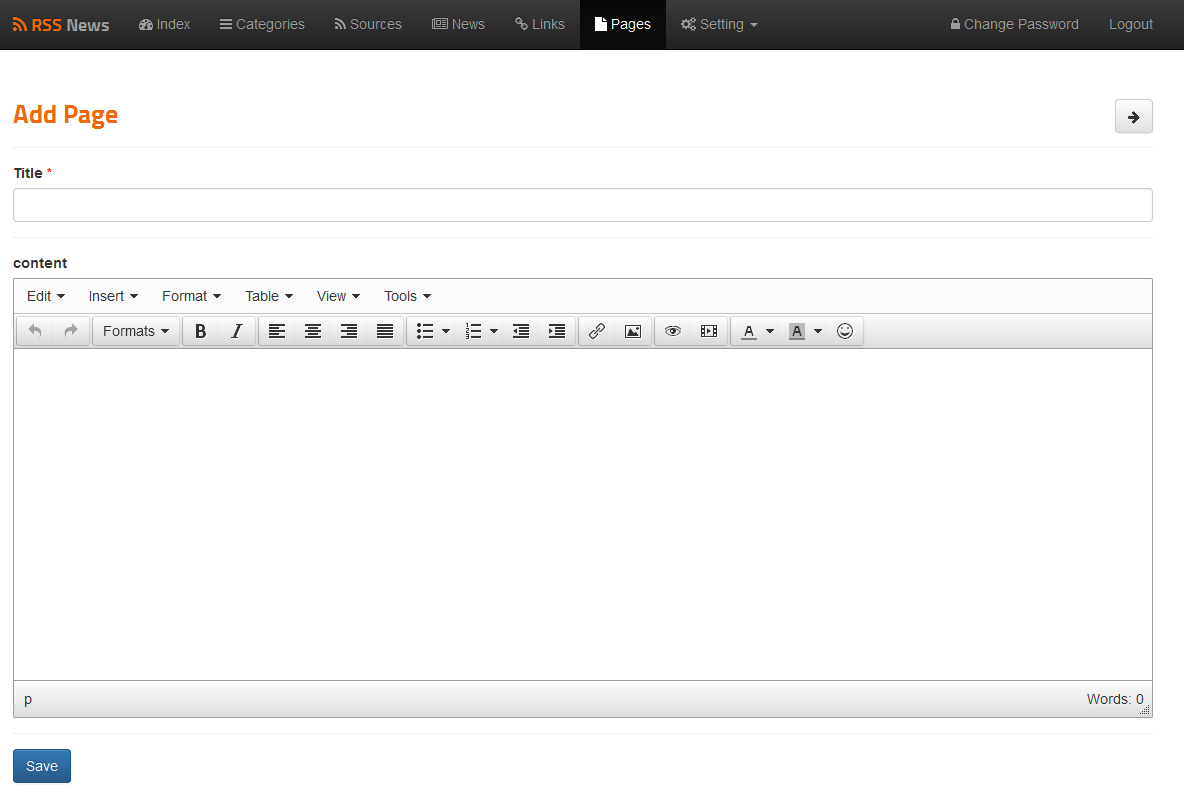
Pages
Pages Page Display custom content published by user such as (About Us, DMCA .. etc).
You can Add, Edit and Delete pages.
Also you can drag and drop pages to reorder them.
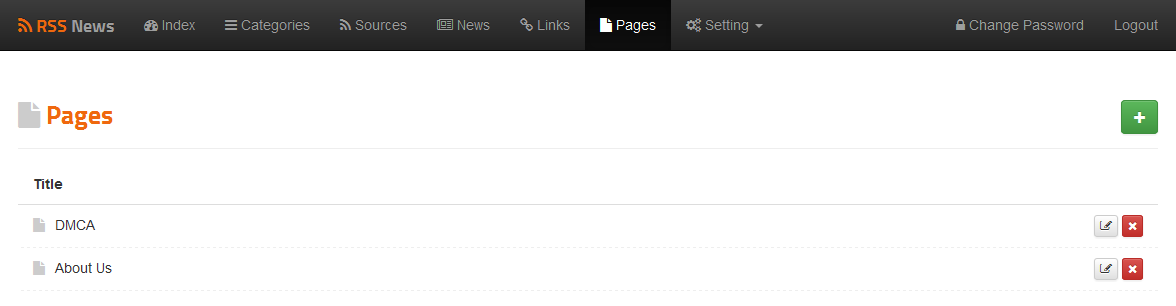
To Add Page Simply Insert the title and content.
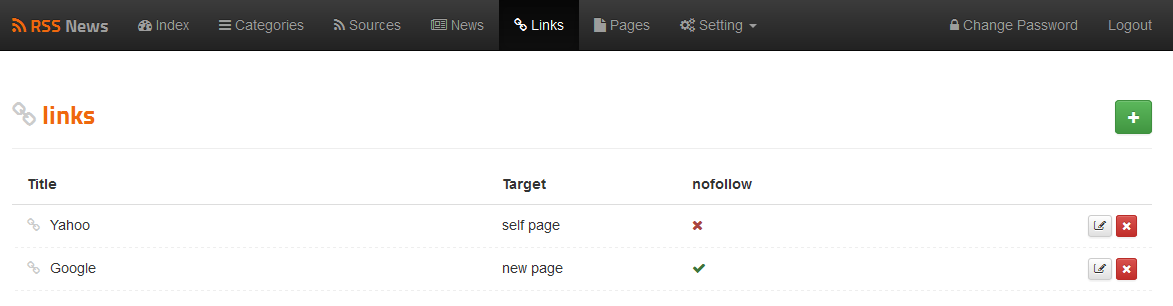
Links
Links Page Display custom links published by user.
You can Add, Edit and Delete links.
Also you can drag and drop links to reorder them.
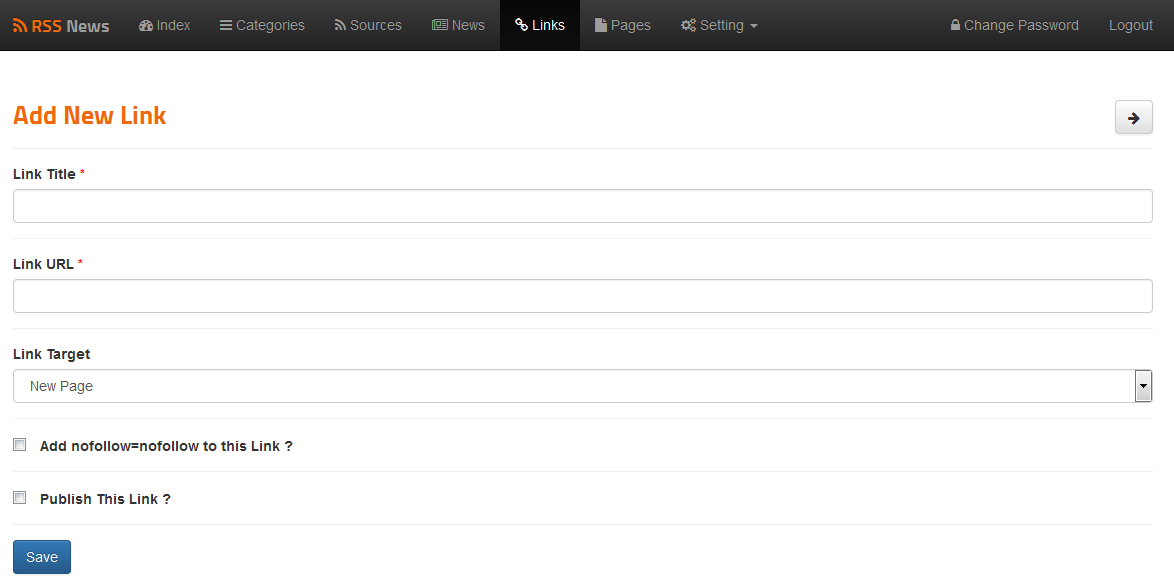
To Add link you must insert the link title and URL.
You can choose how to open the link (same page or new page).
You can also add rel=nofollow to the link.
Setting
Setting help you moderate all the script details and maintenance.
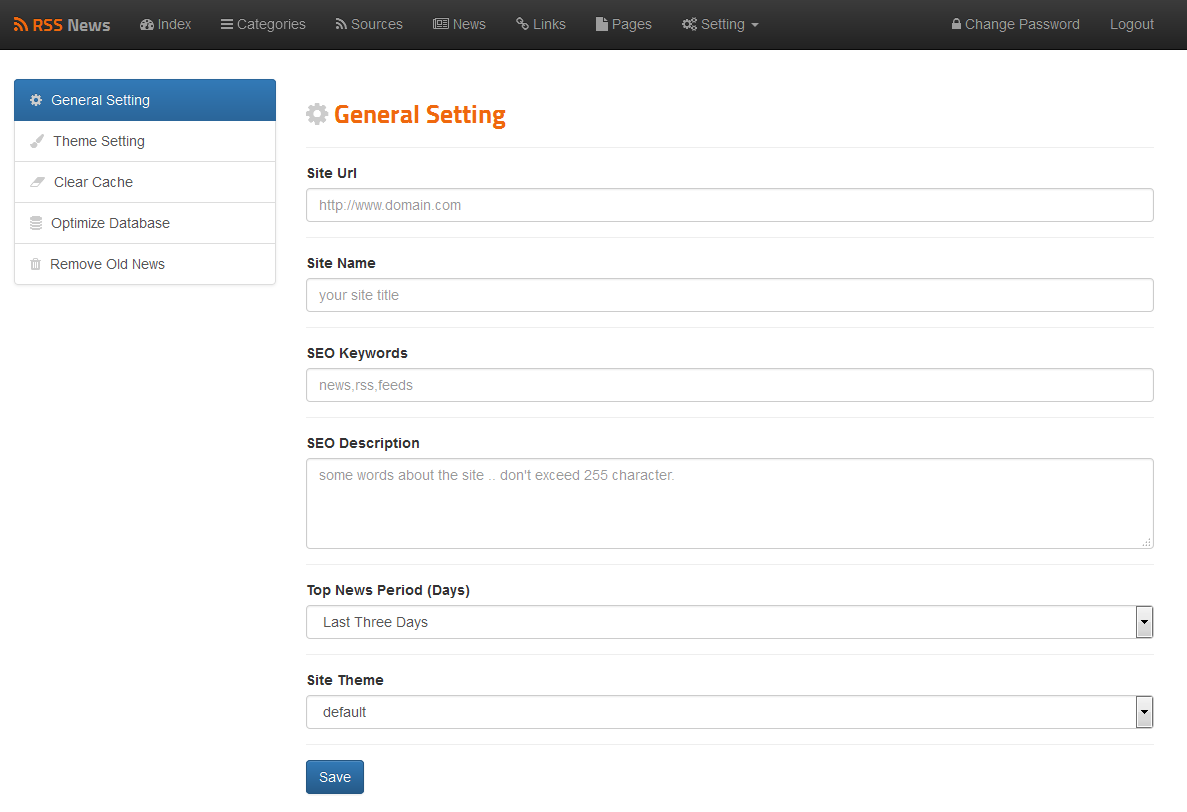
General Setting
General Setting contains the SEO setting which allow you to choose the site title,keywords and description.
Also you can choose the site template (Theme) from general setting.
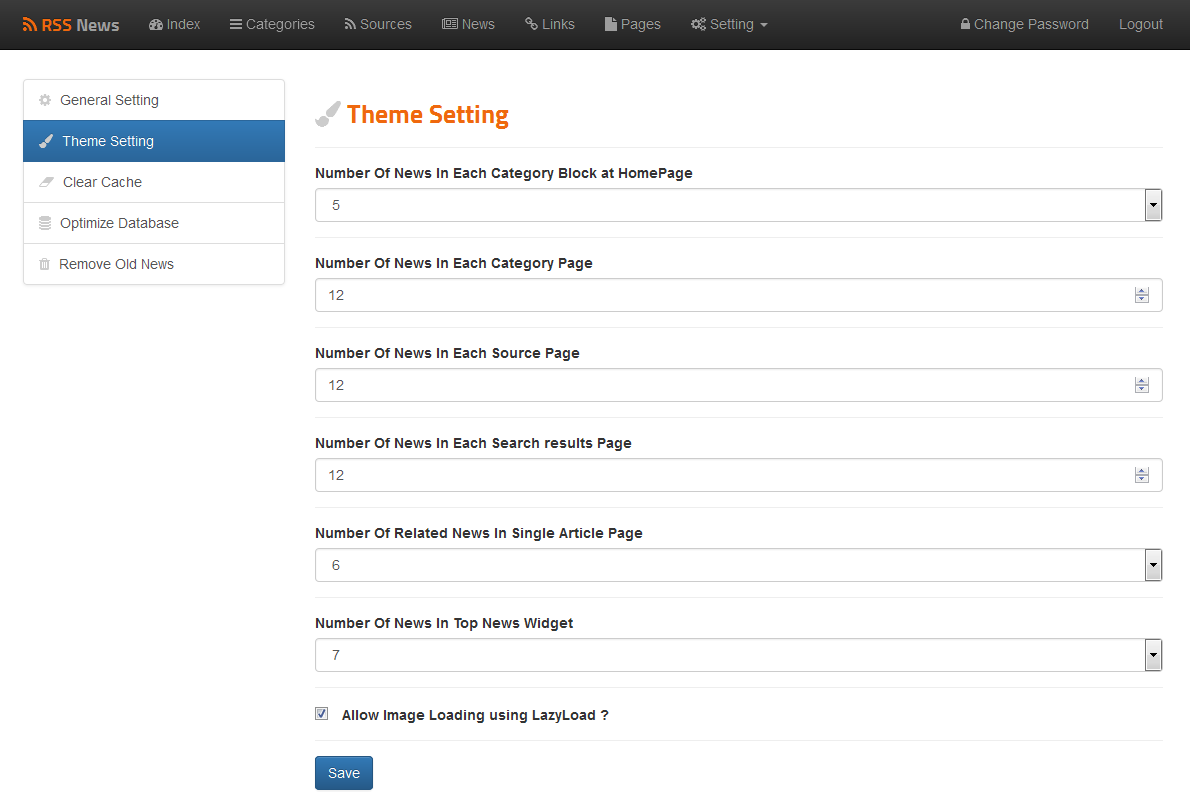
Theme Setting
Theme setting contains the display news numbers (homepage,category,source,related,top news widget).
Also it has an option to Enable/Disable the LazyLoad function.
Clear Cache
Smarty Templates Engine creates Cache files to speed the loading of the site pages.
You have the ability to clear this files (if needed).
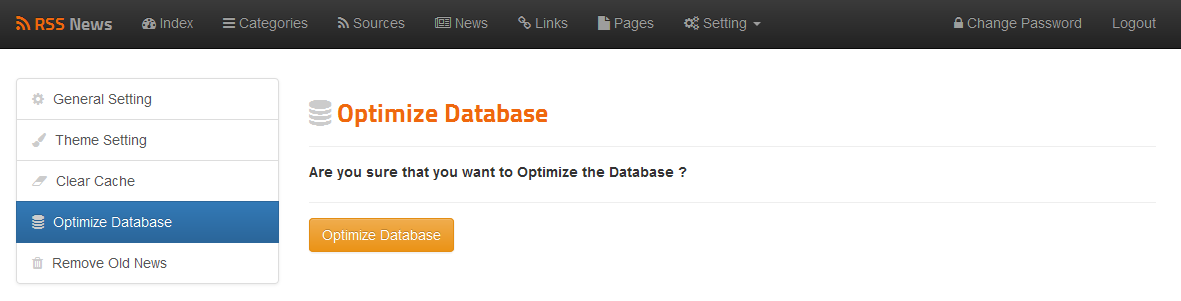
Optimize Database
Sometimes the Database has overhead.
You have the ability to Optimize the database and remove the overhead.
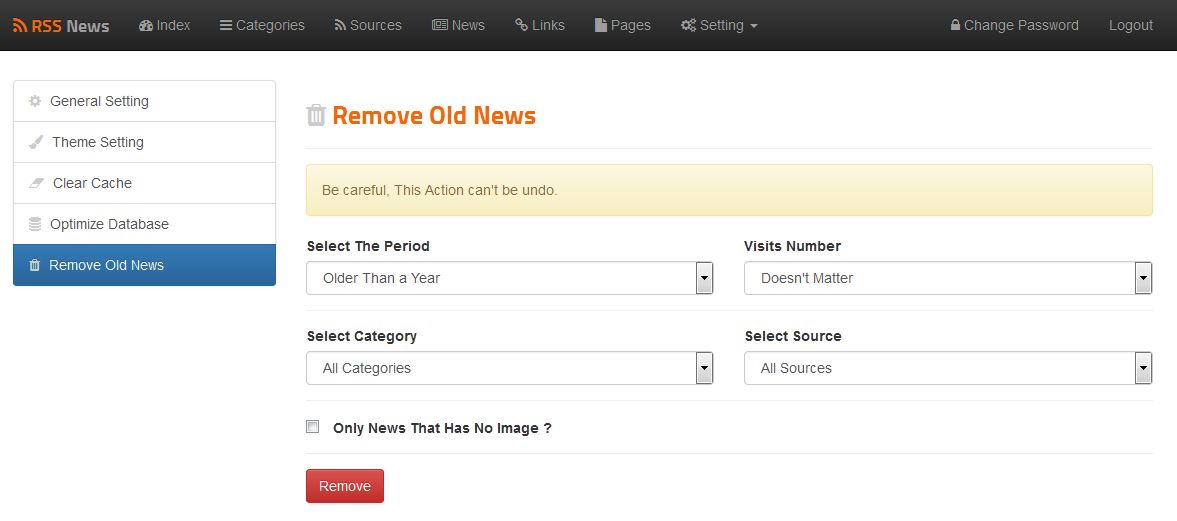
Remove Old News
You can remove old news having many options to do that.
C) Setup CronJob - top
To setup Cronjob login to your cpanel.
Search for : Cron Jobs.
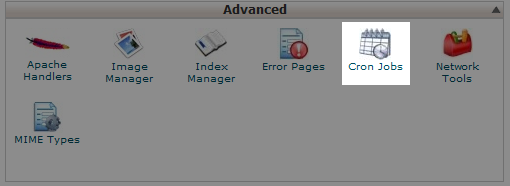
By clicking Cron Jobs link you will get the cron jobs setting page.
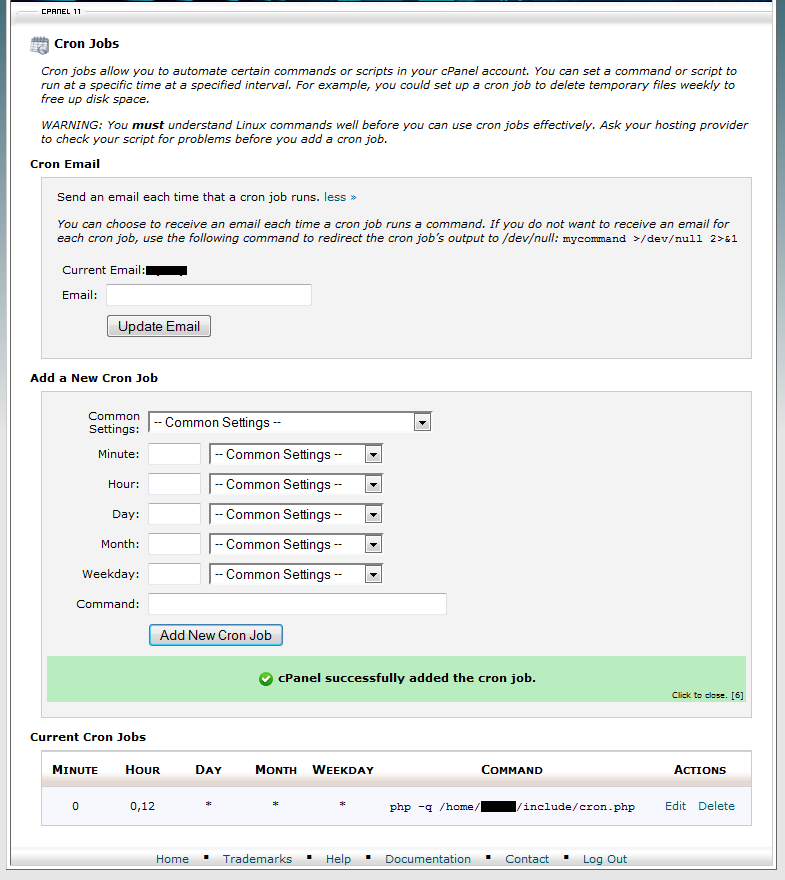
Select the period from common setting for example (Twice Per Day) which means that the cron job will work two times every day.
Then Insert the Command that is responsible for Importing news from feed sources.
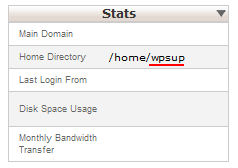
php -q /home/YOUR-ACCOUNT/cron.phpReplace
YOUR-ACCOUNT with yours.You can find it in cpanel at the lest sidebar (as the following image) Where the account name is the underlined.
D) Ads Setup - top
The Ads are stored in files not in database.
You can find the ads at the folder ads which conyains 3 files :
- header.txt
responsible for the header ad - content.txt
responsible for the ad between the content in the pages - widget.txt
responsible for the sidebar ad
Once again, thank you so much for purchasing this theme. As I said at the beginning, I'd be glad to help you if you have any questions relating to this theme. No guarantees, but I'll do my best to assist. If you have a more general question relating to the themes on ThemeForest, you might consider visiting the forums and asking your question in the "Item Discussion" section.
George Mirza